Monday, 16 June 2014

Maple Pecan Muffins

My next bake of the summer combines the ongoing theme of British baking as well as a Canadian flavour. You don't know how hard I just laughed when Blogger told me that was misspelled. It's a Canadian flavour not a Canadian flavor!

The recipe is from the Hummingbird Bakery Cookbook (an American inspired British Bakery) and I'm determined to try more of these recipes as the ones I've tried previously were slightly lacklustre. The recipe said to mix with an electric mixer but I thought it would be better to do them by hand. Muffins can very easily be over-mixed which leaves an unpleasant texture after baking.
 

Maple Pecan Muffins (from Hummingbird Bakery Cookbook, makes 12)
Ingredients:
-2 2/3 cups all-purpose flour
-3/4 cup sugar
-3/4 teaspoon salt
-1 1/2 teaspoons baking powder
-1/2 teaspoon baking soda
-1 1/2 cups buttermilk
-1 egg
-1/2 teaspoon vanilla extract
-5 tablespoons unsalted butter, melted
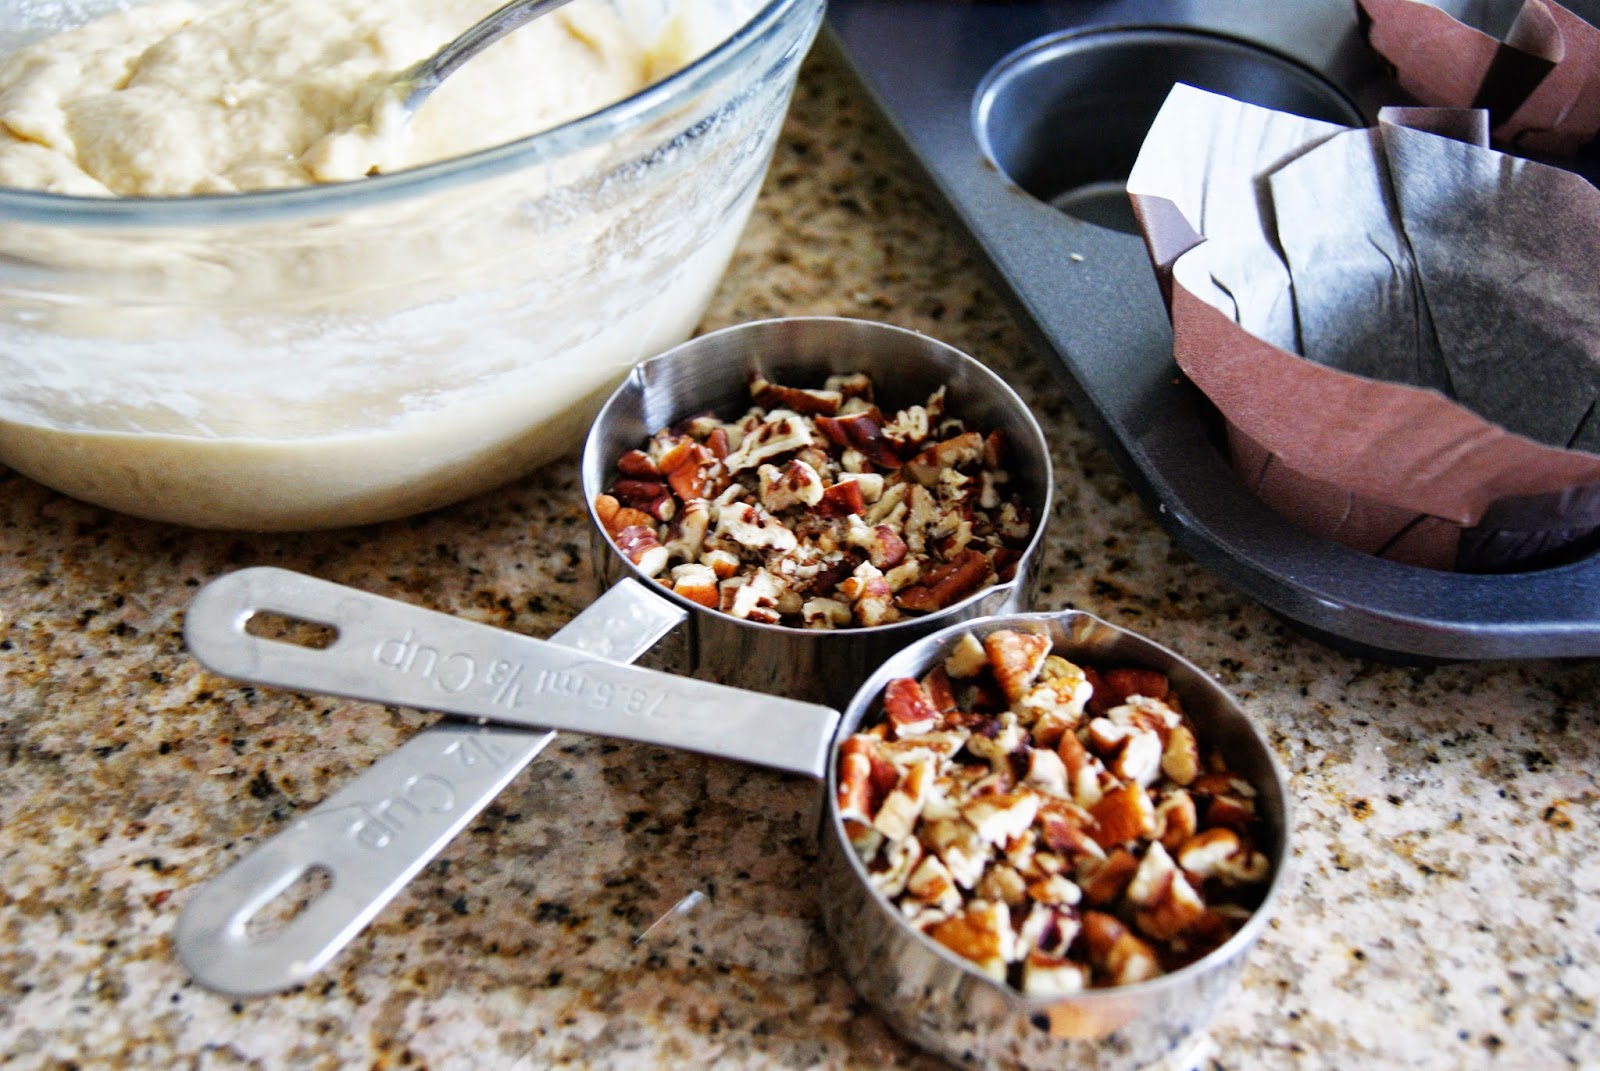
-1 2/3 cups shelled pecans, chopped
-12 pecan halves to decorate
-3/4 cup maple syrup


Preheat oven to 325 F.

Combine flour, sugar, salt, baking powder and baking soda in a medium bowl and mix by hand until evenly dispersed.

In a larger bowl, add buttermilk. egg, and vanilla and whisk by hand. Slowly add the flour mixture, mixing between additions.

Add melted butter and beat. Then add half the maple syrup and all chopped pecans and stir until evenly dispersed. (I found the mixture at this point to be quite wet and doughy)

Evenly spoon the batter into the cupcake liner, about 2/3 full. drizzle remaining maple syrup on top and garnish with a pecan. Bake for 20-30 minutes until golden or a skewer inserted comes out clean.

(before going in the oven)

 Now I'm 98% sure I under-baked the muffins as they were not golden but when I pressed on the top with my finger it did spring back. I did also overfill them (my bad!). I can honestly say that regardless, they were moist and not over-mixed and deliciously sweet.

Okay, so looking back on the photo in the cookbook, I really regret not waiting until they were golden.

The End.


 Anyone else cringing from how bad that ending was?
Just one more thing I'll regret.

Monday, 26 May 2014

Cath Kidston Inspired Cookies


I have never been one to have creative ideas of my own. I have always replicated other designs and while I wish I was waking up at 2 a.m. with the perfect design idea that I just have to write down, for now I will stick to doing what I do best and with that continuing to develop my cookie skills and piping technique.

The theme of this summer so far has been "The Great British Bake Off" and where my last post was a recipe from the show this one is more inspired. I was looking to create some beautiful, floral, spring cookies and who does spring florals better than Cath Kidston. During my research phase I came across some beautiful cookies and hunted them down here by Icing Land.

Also in my research was icing recipes and techniques. In the past I've found the stiff peak/soft peak technique was a lot of effort and mess. I also found that often the stiff peak icing would come separated and often get pulled off the cookie. A lot of the cookie gurus tend to stick to one icing consistency to pipe and flood, all from one piping bag. I found this recipe by Sugarbelle (one of my favourite blogs) that has definitely replaced my old recipe.


Royal Icing
Ingredients:
-2 pounds icing sugar (in Canada we have 1 kg. which is fine but will require a bit more water)
-5 tablespoons meringue powder
-2-3 teaspoons vanilla extract (or other flavouring)
-1/2-3/4 cups warm water

With a paddle attachment, mix the meringue powder and icing sugar.

Mix half the water with the vanilla extract.

With the mixer of its lowest speed slowly add the water (staring with the vanilla mixture) and continue until it forms a thick honey-like consistency.

On medium speed whip from 2-4 minutes until stiff peaks are formed. (I found that 2 minutes was too much with my mixer on 6, so be careful not to over whip).

The whipping was probably the most important change in the recipe for me as it really helped the icing increase in volume. I don't think I will ever have to make more icing again. Another technique I tried to incorporate (but didn't quite hit the nail on the head) is the 10 s. rule by Sweetopia (a fellow canuck) where when you slice the surface of the icing it should take about 10 s. to smooth over.
The polka dot cookies were the simplest to create. I piped and flooded the cookies with a pink icing and immediately after used white icing to pipe dots (as evenly as possible) on top. This is a wet-on-wet technique and creates a smooth finish. 

The rose cookies were slightly more complicated because the base was not a simple/freehand shape. In the past I've used a transfer technique which works well if you can do them the day before. See my tutorial here. In this case I decided to try something new. I took an image of what I was trying to create and cut out the centre, making a simple stencil from printer paper. Now this isn't a perfect stencil by any means but with the wetter icing, the stencil could be easily removed with disrupting much the shape. For a quick fix, it worked well to make sure I had an even, symmetrical base. The flower design however was done freehand (but could also be done by transfer for a better finish) and while it was by no means perfect, the abstract rose design still looks pretty darn good.


Sunday, 11 May 2014

Shortcake Biscuits with Salted Peanut Caramel Filling

(Once again, ignoring the break that was taken). Time and time again I've complained to everyone I know as well as the internet that baking in student housing is less than ideal. When I realized I would need to move again this year, I latched myself on to a particular townhouse complex and begged and pleaded several other students (also strangers) until I could guarantee myself a room in one of these. Why? The kitchen. I have stainless steel appliances, a microwave I could fit in and...wait for it...a dishwasher. My kitchen aid also fits quite nicely on the granite counter top. 

So I am now living here for the summer and I'm hoping to be able to dedicate myself more to the blog and really try and improve my knowledge and baking skills.


On the day I moved in I got a text from one of my friends who is also baker. She was commenting on how she couldn't wait for the Great British Bake Off to start up again. That got the wheels turning in my head and I realized to kick off the summer, I had to bake something from the show. Naturally, the bake wasn't "perfect" but I learned some new techniques and of course you're reading this post so you know what to look out for.

This recipe is of course from the only season I have never watched, the first, so I couldn't watch the show for reference. 
Caramel Peanuts
Ingredients:
-1/4 cup sugar
-1 tbsp water
-2 tbsp salted and halved peanuts

Arrange the peanuts on a baking sheet.

In a saucepan, add the sugar and water and stir until it resembles a a wet sand. 

Cook on medium heat until it boils and turns a golden brown colour. Do not stir.

Pour the caramel over the peanuts. I would use a spoon and drizzle the caramel rather than pour straight from the pot. I got a large blob which once cooled and broken into pieces resembled the above photo. The peanuts mostly cam detached from the caramel and the caramel was too thick and sharp to eat. 


(usable pieces I was left with)

Biscuits
Ingredients:
-1 cup butter
-1 cup sugar
-2 tbsp peanut butter
-1 1/2 cups flour

Preheat over to 325 F.

Cream butter and sugar until light and fluffy. Then add peanut butter until combined. 

Sift in flour until the mixture comes together as a dough. I found it to be gritty and greasy. Cover the dough in cling film and chill in the fridge for 15 minutes. (Reading the recipe over, I realized I forgot this. So it might be the difference to getting a better consistency in the dough.)

Flour the work surface and roll and cut 24 biscuits. I found the recipe made much more than this.

Place on a cookie sheet, either greased or lined with parchment paper. Wrap in cling film and chill for another 15 minutes. Despite the recipe not having a leavening agent, this recipe is not like a typical rolled cookie. They didn't necessarily rise, however they did expand so make sure to space the biscuits a fair distance apart.

Bake for 12-15 minutes or until golden on the edges.  Let cool for 5 minutes and then transfer to a cooling rack to cool completely.


Filling
Ingredients:
-300g dulce de leche
-1/2 tsp sea salt flakes
-1 tbsp salted peanuts, chopped
-additional 75g dark chocolate for garnish

Bring the dulce de leche to a boil on medium heat. This part was omitted from the recipe. (Was this a technical challenge?!) After looking up a similar recipe this was done so I assumed this to be the case.

Remove from heat and add salt and peanuts. Set aside to cool.

Spread the filling on half the biscuits and use the others to make a sandwich.


For garnish, melt dark chocolate and drizzle it over the cookies.Finish with the caramel peanuts.


Ready, set, BAKE!

Tuesday, 27 August 2013

Banana Nut Bread

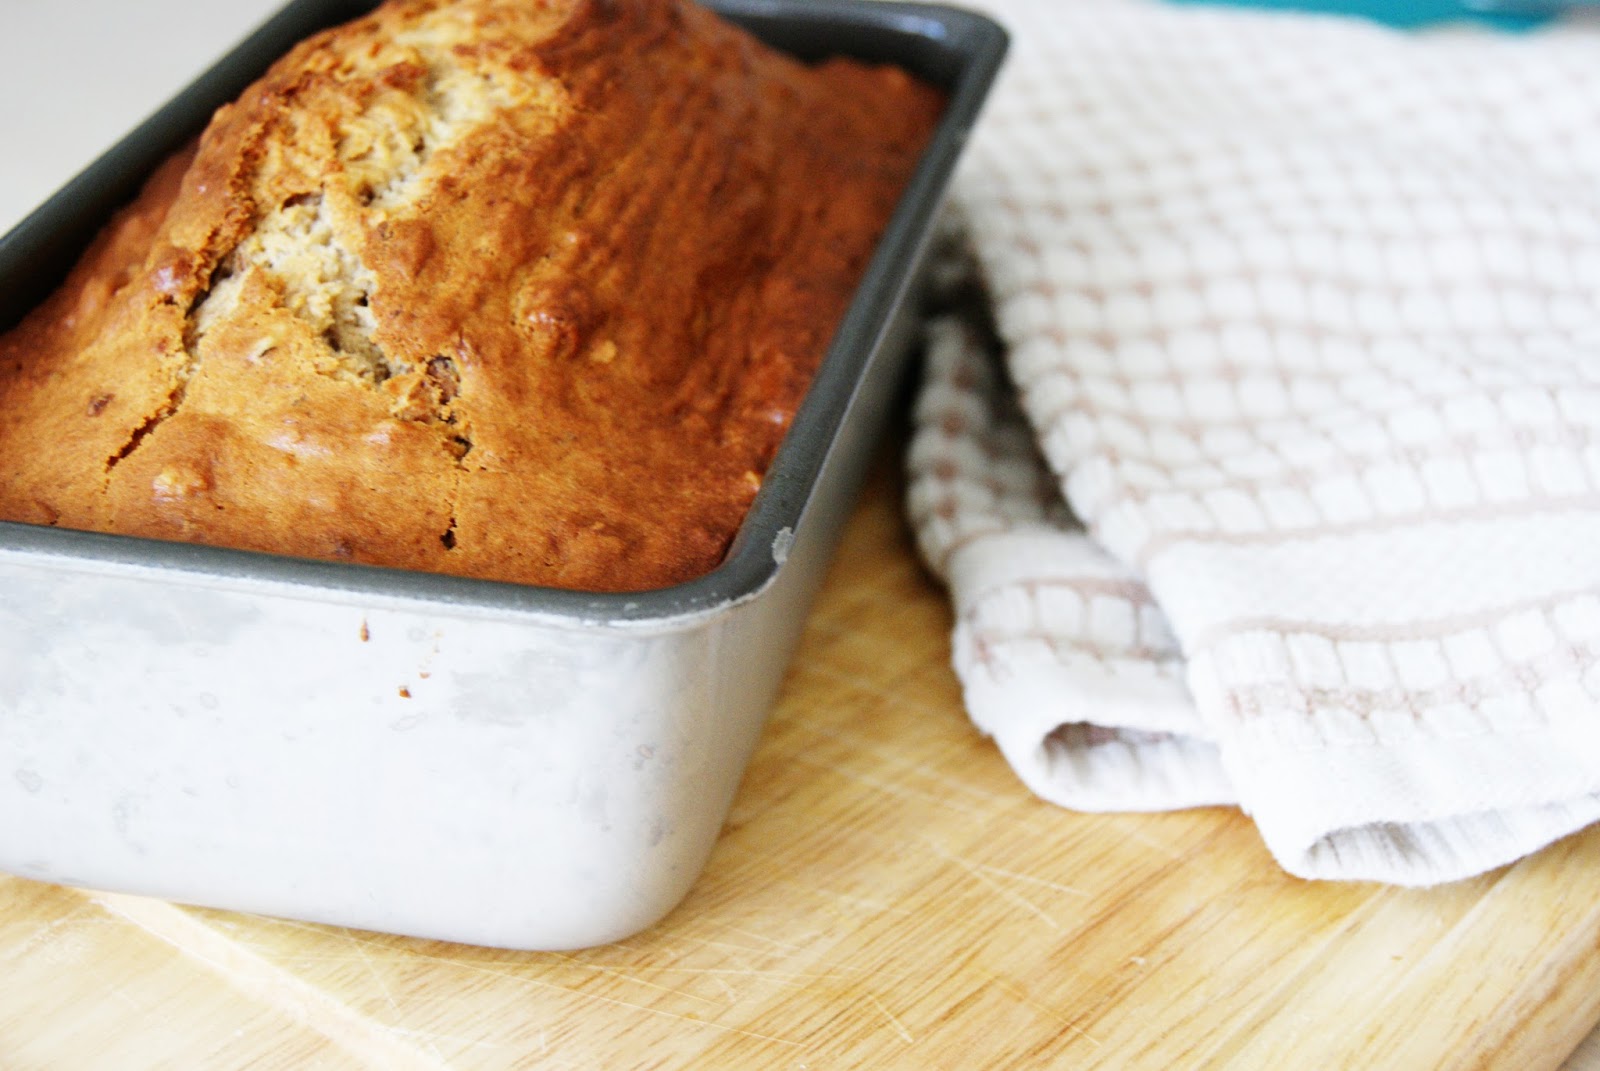
There's nothing easier to make than a loaf cake. Also I can't think of a proper introduction for a Banana bread. I mean, they're cheap to make and virtually impossible to mess-up, not to mention you don't need to dirty up a mixer to make it.


Since I've been living at home this month, it has been infinitely easier to bake (a perfect combination of my parents buying groceries and not having to work). Since my mother buys bananas every week to take in her lunch, there was an occasion where the bananas ripened at lightening speed and I thought it was the perfect opportunity to make my mother's Banana Nut Bread recipe.

Banana Nut Bread 
Ingredients:
-1 3/4 cups flour
-2 tsp. baking powder
-1/4 tsp. baking soda
-3/4 tsp. salt
-1/8 tsp. nutmeg
-1/2 tsp. cinnamon
-1/3 cup shortening
-2/3 cup granulated sugar
-2 well beaten eggs
-1 cup well mashed bananas (2 large or 3 medium)


I recommend preparing the loaf with a fork and later a spatula. When the batter is transferred to the pan, it should have strings of banana in it and this is what will keep it like a rustic, moist loaf rather than a fluffy cake (stirring it by hand adds less air into the batter).

Sift together dry ingredients.

Cream together shortening and sugar. Add beaten eggs.

Add alternatively: bananas and dry ingredients. Lastly, stir in 1 cup chopped walnuts. 

Turn batter into a greased loaf pan and bake at 350 1-1 1/4 hrs.


Thursday, 1 August 2013

Royal Baby Sugar Cookies


On July 22, HRH Prince George of Cambridge was born. Upon hearing that the Duchess was in labour all I could think was 'this event needs cookies!'. My goal was finish these cookies in time with the announcement of the name because I knew I couldn't have them done by the time he was going to be born. This would of course be the perfect moment for me to make a mental note and remind myself that my baking goals are always, always set too high. Naturally, yesterday was the day I found time to make a trip to my favourite baking and kitchen store and pick up the cookie cutters I needed (also a 100 pack of Ateco disposable piping bags which was both a deal and necessary since the local Bulk Barn closed down where one could buy individual piping bags and not get ripped off by Wilton).

For instructions on decorating with royal icing see my post here. For the crowns I used Crystal Colors powder food colouring in Antique Gold and mixed it with vodka (any alcohol base will do).


As you can see with my pastel coloured union flag, my piping tends to get messy when I finish my line and I get a raised area where the icing clumps together. Does anyone have any tips on how to make this smoother and avoid this?

Thursday, 25 July 2013

Blackberry Cupcakes

So I'm just going to pretend that there wasn't an awkward hiatus.


You might recall that I mentioned last summer I made the perfect vanilla cupcake recipe and conveniently lost the photos, which resulted in me never writing a post on them. On the off-chance you do remember me mentioning these cupcakes, fear not! I made them again with the photos and everything!

(Mini) Vanilla Cupcakes (makes 24+ mini) - adapted from here
 Ingredients:
- 1 cup milk (I used 2%)
- 1 tsp. vinegar
- 3/4 cup sugar
- 1/3 cup vegetable oil
- 2 tsp. vanilla
- 1 1/4 cup all-purpose flour
- 2 tbsp. cornstarch
- 1/2 tsp. baking soda
- 3/4 tsp. baking powder
- 1/2 tsp. salt

Preheat oven to 350 and line muffin tins.

In a large bowl combine milk and vinegar and set aside for a few minutes.

Add sugar, oil and vanilla and whisk until foamy.

Sift remaining dry ingredients and whisk until no lumps remain.

This batter is very thin so I poured it into a squeeze bottle to fill the cupcake liners approx. 3/4 full. I had remaining batter although I did not use it so I can't say how many more cupcakes it would have filled. If I had to guess I would say at least a half dozen.

Bake for 9-14 minutes.


Since blackberries were coming into season I thought to add a twist to the cupcakes this time. Ironically, I couldn't find any Ontario blackberries.

Blackberry Cream Cheese Filling:
Ingreients:
- 1/2 cup of cream cheese
- 2 tbsp. milk
- 2 tbsp. blackberry syrup (alternatively you could use a puree with some added sugar)

 Combine ingredients and whisk until smooth.

Using a BBQ skewer, carve a cylindrical hole out of the cupcake. 


Fill a piping bag with blackberry filling. Insert tip into the hole and fill the hole. Remove any extra icing.


Wash and rinse a dozen blackberries. Cut each blackberry in half. Insert blackberry over the hole with the cut side face up.

Using a petal tip and white buttercream, pipe petals around the blackberry. Optional: sprinkle some black decorators sugar over the blackberry.


You'll be hearing from me soon. I promise. Scout's honour. Pinky swear. etc. etc.


Saturday, 23 March 2013

The Past Three Months

I realize I haven't been active in the past three months and while I haven't had the time to bake it does not mean that I haven't done anything "blog-worthy".

For Christmas this year I baked Eggnog Macarons (of which I have no photos). I baked three batches on Dec. 23 before I decided they looked good enough to serve my friends and family. I think that was enough macaron baking to satisfy me for another year.

After Christmas I went on a family vacation to London, England. I wanted nothing more than to go to Peggy Porschen's bakery while I was there as she has been my cake decorating idol since I started baking. Of course, the one time in my life (thus far) I'd had a chance to taste something of her's, her bakery was closed for the entire length of our trip, reopening a couple days after we'd left.


Fast forward a bit to March...and here I am, not baking anything delicious and preoccupied with what am I going to bake for Easter (and my dad's birthday which is Easter Monday this year). Well as fate should have it (or perhaps the baking gods intervened) Anna Olsen, of Food Network fame, not only happens to be an alumni of my school (in politics, no less) but was visiting and speaking on behalf of the Queen's Student Alumni Association. So I went, bought a cookbook, and was completely starstruck getting it signed!


Her talk was great, all about the great seasons we are blessed with in Southern Ontario and wonderful local produce we have in Canada. She gave the audience tips on dressing for the camera (never wear black!) and that on Tuesdays they film the time lapses for her show. She also shared that in every episode of her show Bake with Anna Olsen, you can find the mini chiffon cakes she baked in the first episode. By far, the best moment was (surprisingly not when someone asked her out to dinner) but when someone asked her about the most difficult thing to bake, to which she answered "French Macarons"!

 It was an amazing opportunity to hear from her as an alumni and celebrity chef and her new cookbook will definitely inspire me to come up with something delicious for Easter and will fuel me with (NOT CUPCAKE) recipes for the summer.


Saturday, 8 December 2012

Ferrero Rocher Cupcakes


The best part about coming home for the holidays is without a doubt that I don't have to cook, rarely have to clean and my parents pay for groceries. While I should be studying for my exams, I couldn't help but take advantage of this and bake some delicious cupcakes that are both festive and expensive.

When I first came across these cupcakes on the internet I couldn't get over how cute the gold wrappers looked on the cupcakes with the Ferrero Rocher on top. And while I couldn't find on specific recipe that was practical and fit my vision I took inspiration from here and here to achieve it.


Dark Chocolate Cupcakes (makes approx. 12)
Ingredients:
1 cup sugar
7/8 cup flour
3/8 cup dutch processed cocoa 
3/4 teaspoon baking soda
3/4 teaspoon baking powder
1/2 teaspoon salt
1 egg
1/2 cup buttermilk (I substituted 1/2 2% milk with a teaspoon of cream of tartar rather than buy a whole carton of buttermilk)
1/4 cup vegetable oil
2 ounces bittersweet chocolate
1/3 cup boiling water


Directions:
In large bowl mix together sugar, flour, cocoa, baking soda, powder, and salt and combined. (Sift if any ingredients have gotten lumpy)

Melt chocolate in the microwave, taking it out every 30 seconds and stirring.

Keeping the mixer on low add egg, milk, oil and chocolate. Add each individually, until fully incorporated, scraping down the sides between each additions.

Add boiling water and stir by hand until fully incorporated.

Fill muffin tins 3/4 full and bake for about 20 minutes at 350 degrees.

Remove from tins and cool on a drying rack.


Nutella Buttercream Frosting (enough to pipe swirls on 12 cupcakes)
Ingredients:
1/2 a 375g container of Nutella (or half 13 ounces)
1/2 cup unsalted butter
1/2 bag of icing sugar (or about 2 cups)
1/2 teaspoon vanilla
whipping (heavy) cream as needed
Ferrero Rochers for toppers

Directions:
Mix butter and Nutella together until combined.

Add icing a cup at a time. The texture of the icing will be like sand after this.

Add vanilla. Add whipping cream one teaspoon at a time until the desired consistency is reached. 


Pipe and top with chocolates.

Monday, 3 December 2012

Royal Icing Transfer Tutorial and Oxfam Cookies


So now we're into December, the month of baking and exams. And while we're all trying to learn what exactly was going on in those lectures we've been "going to" all term, we can also learn a few new techniques when it comes to our holiday baking.

I'm sure everyone has come across a cookie or some other icing decoration and thought, how could someone possibly have made that so perfect? Well, if that person had a few hundred bucks to throw around, they could have used a projector designed specifically for baking to trace the design, or they could have made transfers traced onto wax paper. 


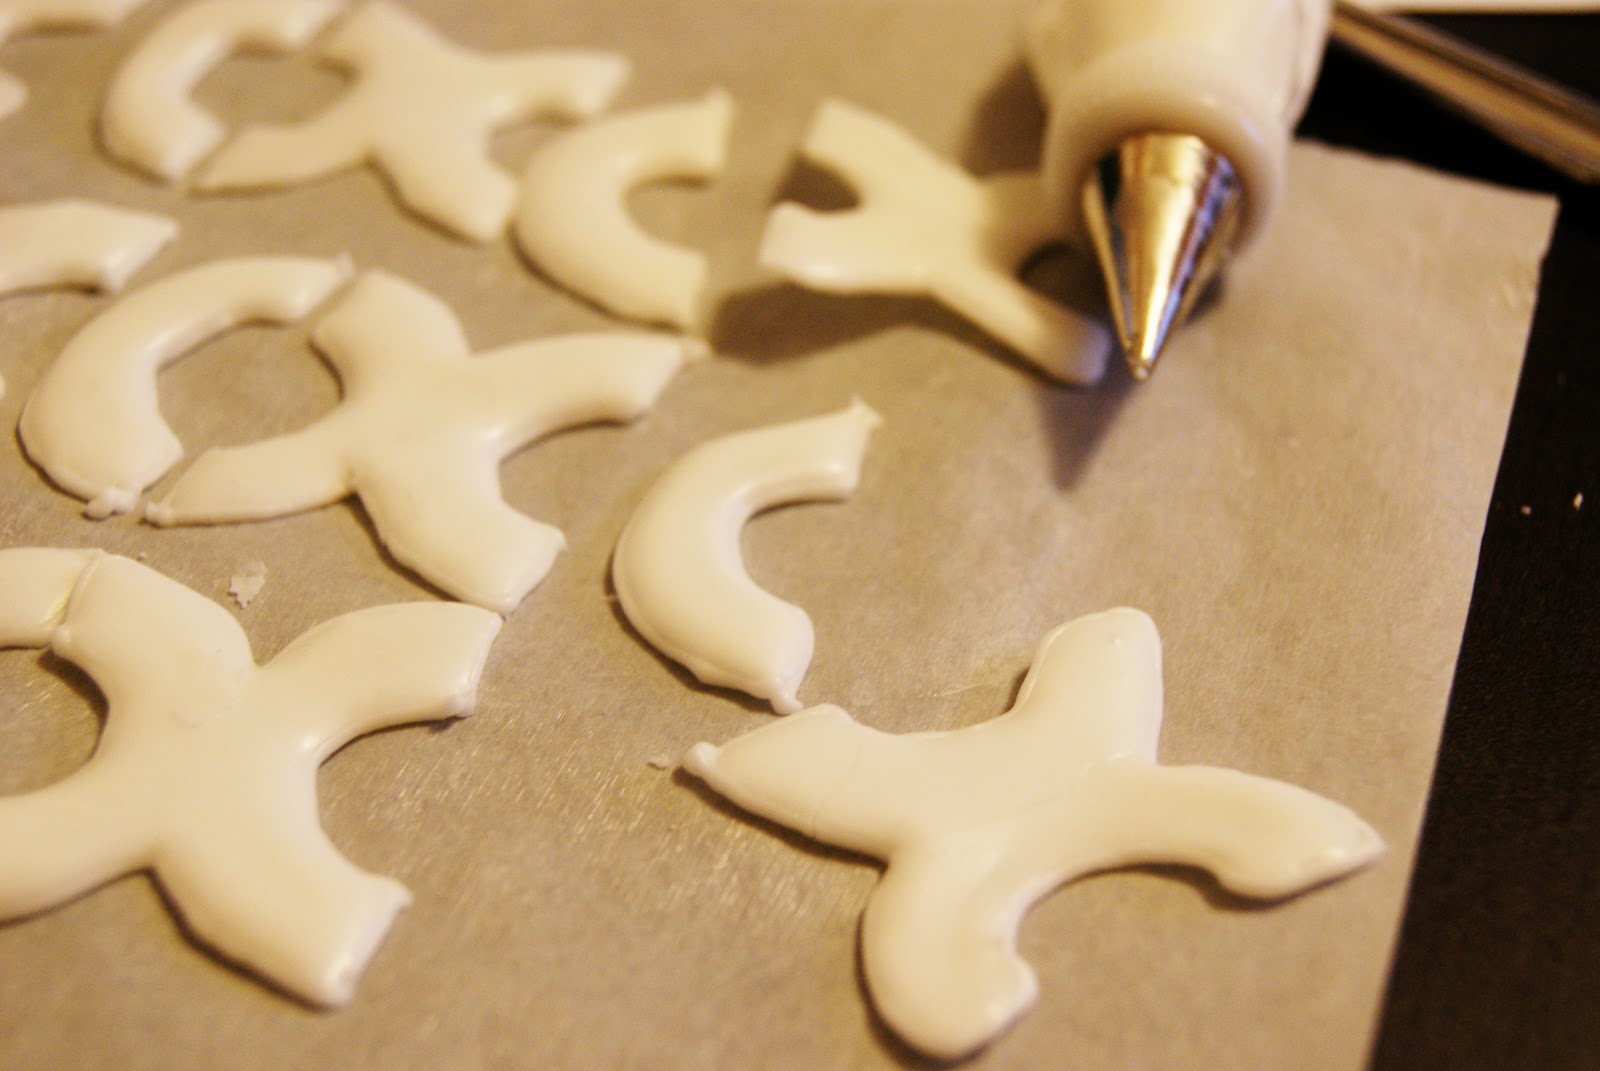
The process of making royal icing transfers is quite simple, however because icing is not the strongest of mediums, I recommend making many back-ups as they will break.

What you need:
-soft peak icing 
-flood icing
-piping bag with a number 2 tip
-squeeze bottles

To begin, grease a sheet of wax or parchment paper with butter.

Under the wax paper place an image of what you trying to create. The technique works best with simple images like logos and lettering. An image with layers such as eyes on a person or animal will be more difficult to trace.

Pipe outlines of the image. 


It's best to begin flooding the transfers before the piping dries. This will reduce the chance of the piping breaking.


After a few hours the transfers may seem dry but believe me when I say they won't come of the paper clean until they've dried overnight. 


After drying overnight, gently slide them off the paper with a small off-set spatula or pry them off even more gently with a knife.

Pipe the backs with royal icing and secure them to your cookie.


Tuesday, 27 November 2012

Snickerdoodle Cupcakes


Like every school year ever and like every student ever, I've fallen into the November slump. And while despite the the forever cramming for midterms in October ending, November means its cold and I need to save my motivation for final exams. That sounds fair right?

Well thanks to my friend, I actually got around to baking again and surprise, surprise, it's a cupcake. I keep thinking it's about time I stop baking cupcakes and start baking more of a variety of sweets but in all honesty cupcakes are such a crowd-pleaser and I don't bake for myself, I bake for my friends.

So my friend Katie picked out a recipe, which I happened to own from Martha Stewart, for snickerdoodle cupcakes and being the kind souls that we are, we gave them out to our friends and performers at a coffeehouse that we helped organize.


Snickerdoodle Cupcakes (makes approx. 30)
Ingredients:
3 cups minus 2 tablespoons all purpose flour
1 tablespoon baking powder
1/2 teaspoon salt
1 tablespoon ground cinnamon
1 cup unsalted butter
4 large eggs
1 3/4 cups sugar
2 teaspoons vanilla extract
1 1/4 cup milk

Directions:
Preheat oven to 350 degrees and line your muffin tins.

Sift together dry ingredients in a medium bowl and set aside.

Cream butter and sugar together until pale and fluffy with a mixer on medium speed in a larger bowl. Add the eggs one at time, mixing until completely incorporated. Add vanilla. Add the dry ingredients in three batched alternating with milk and making sure to scrape down the sides of the bowl so everything is well incorporated. 

Fill the cupcake liners 3/4 full and bake for 20 minutes. When cooled frost with your favourite buttercream or cream cheese frosting.

Notes: Baking in student housing, as I'm sure I've said before, means the ovens usually have a mind of their own. Despite baking at a lower temperature than 350 I found the first batch came out with a stiff top but the insides were still light and fluffy. Not only is this recipe a keeper, I think it may also be foolproof.